How to figure out which size label you need

Your label needs to do several things to be successful: fit on your container, stay on your container and, of course, look good doing it.
It all starts with the correct size.
When it’s time to order labels, it’s tempting to take size for granted. You might assume a standard size for your bottle, jar or container, or fail to notice a gradual taper of the surface to be labeled.
Maybe you’re cautious and decide to measure. You can still run into problems.
It’s always best to provide your label printer with a sample of your tube or bottle. With your container in hand, an experienced label printer will know exactly what to look for to engineer a custom label designed specifically for your container.
If for some reason it’s not possible to send a sample of your container, these tips will help you avoid common label pitfalls associated with improper sizing.
Label taper
Labeling up to or over a taper will cause “flagging”, the unsightly wrinkling at the edge of your label. The only way to avoid this is by sizing the label well away from the taper.
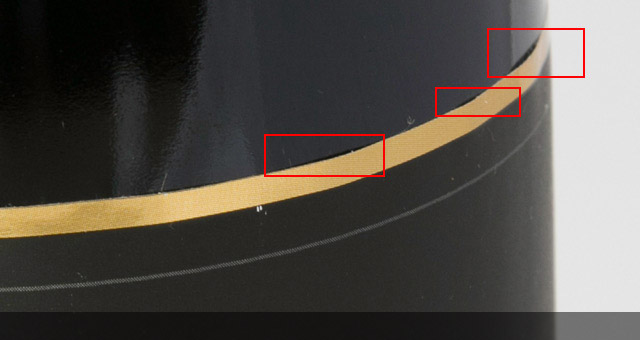
If your container gets narrower at the top and bottom, that’s a taper. Unless you’re labeling a cylinder (think FedEx tube) your container will more than likely have a taper.
It’s obvious on wine, beer and spirit bottles where the neck is clearly skinnier than the rest of the container. By contrast, jars may have a subtle taper that is harder to detect. And plastic tubes can often taper in more than one direction.
One simple way to determine if your container has a taper is to line it up against a straight edge, like a ruler, a book or a box. You’ll immediately see where the container is flush with the straight edge, and where any taper begins. Do this for all sides of the container. This method will also help you see imperfections and irregularities in your bottles, which are common if you are ordering discount glass from overseas. Always discuss your findings and concerns with your label company.
Label corner radius
A corner radius may be purely cosmetic or designed to help your label applicator smoothly and consistently apply your labels.
Rounded corners can have a noticeable impact on the appearance and aesthetic of your label design.
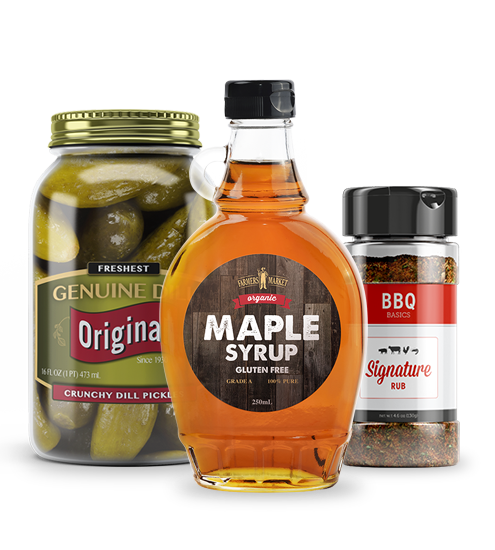
Determining a corner radius is tricky for some. As your label printer lists off available corner radius options you may find it difficult to envision the final printed labels with the corner radius of your choice. The image below includes all available corner radius options. You could even print it out and use it as a guide to trim the sharp corners from a label-sized piece of printer paper to truly see what you would be ordering.
Your label printer will be happy to recommend a corner radius, but there’s no guarantee it will be one you like if you haven’t seen it for yourself.
There are no standard-size containers
This is something your label provider hears quite regularly. “It’s a 12-ounce bottle, just use the standard label for that bottle.”
The only problem? There is no standard. There are a myriad of varying 12-ounce bottles, or containers of any size for that matter.
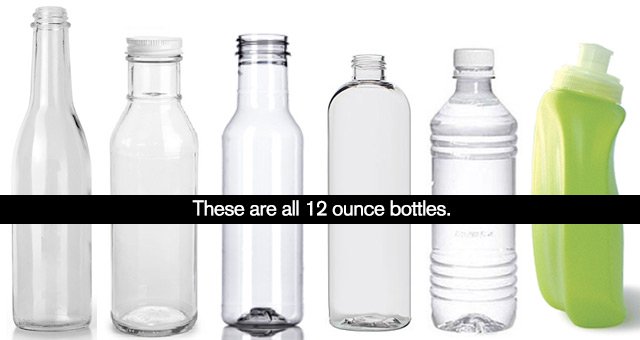
You need a custom label solution for your exact bottle, tube, or jar. One size does not fit all, and you will almost certainly run into size issues if you don’t precisely measure the surface to be labeled.
Remember, it’s always best to provide a sample of your container to your label company. Unfortunately, that may not always be possible.
If you’re going to measure it yourself, be on the lookout for any tapering or container irregularities. And always communicate openly and frequently with your label printer about your containers.
There are many solutions available to you, solutions specific to your product and container that have been fine tuned over decades of labeling. There’s no need to reinvent the wheel!
Measuring your container
If you’re unable to send a sample of your container to your label printer, you should always measure, measure, measure!
Few labels will be applied to perfectly flat, non-porous surfaces. There are many different ways to build a label, and there are different solutions for glass, plastic, ceramic, rubber, cardboard and so on.
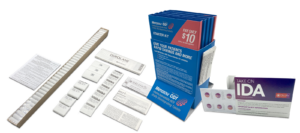
So when it’s time to measure, the best advice is to use a flexible tool, like a measuring tape or paper ruler. Something that will trace the contours of the container’s surface. You can print out the ruler below and use it in a pinch. Remember to double-check that you are printing at 100 percent, or all your measurements will be wrong.
Combined with the taper detecting techniques above, measuring will give you an accurate label size.
You may be surprised to learn your label needs to be much smaller than you imagined when you chose your container. If that’s the case, there are several label solutions available to you, such as neck labels, bottle neck hangers or extended content and booklet labels.
Remember, there are no standard-size containers, so be sure you measure a sample of the exact style you will be using – preferably from the same supplier where you will be ordering yours.
Millimeters, centimeters, and inches
Rattling off a series of metric measurements will sound like a foreign language to a U.S. printer accustomed to dealing in inches. Though they will happily convert the measurements to inches for you, having this information ready when you pick up the phone or order online will help speed things up.
There are a number of free web-based conversion tools. Just load up the page and plug in your measurements.
Why it matters
Get the label size right, and applying the labels will be a piece of cake. They will stay on the container and won’t crinkle up at the edges, which is unsightly and can also result in peeling or tearing.
Measuring ahead of time and knowing your exact label size will allow you to trim samples from blank paper and tape them onto your containers. This allows you to see if the label size complements your bottle, jar or tube.
Even if you’re gifted at picturing things in your head, it’s always a good idea to look at a physical sample to guarantee you’ll be happy with the size and corner radius. Seeing is believing.

